Shopping cart

Your cart is currently empty

Product image slideshow Items

  • OneUp Components OneUp Kit, Dropper V2, Rebuild

OneUp Kit, Dropper V2, Rebuild

$18.99
Excl. tax

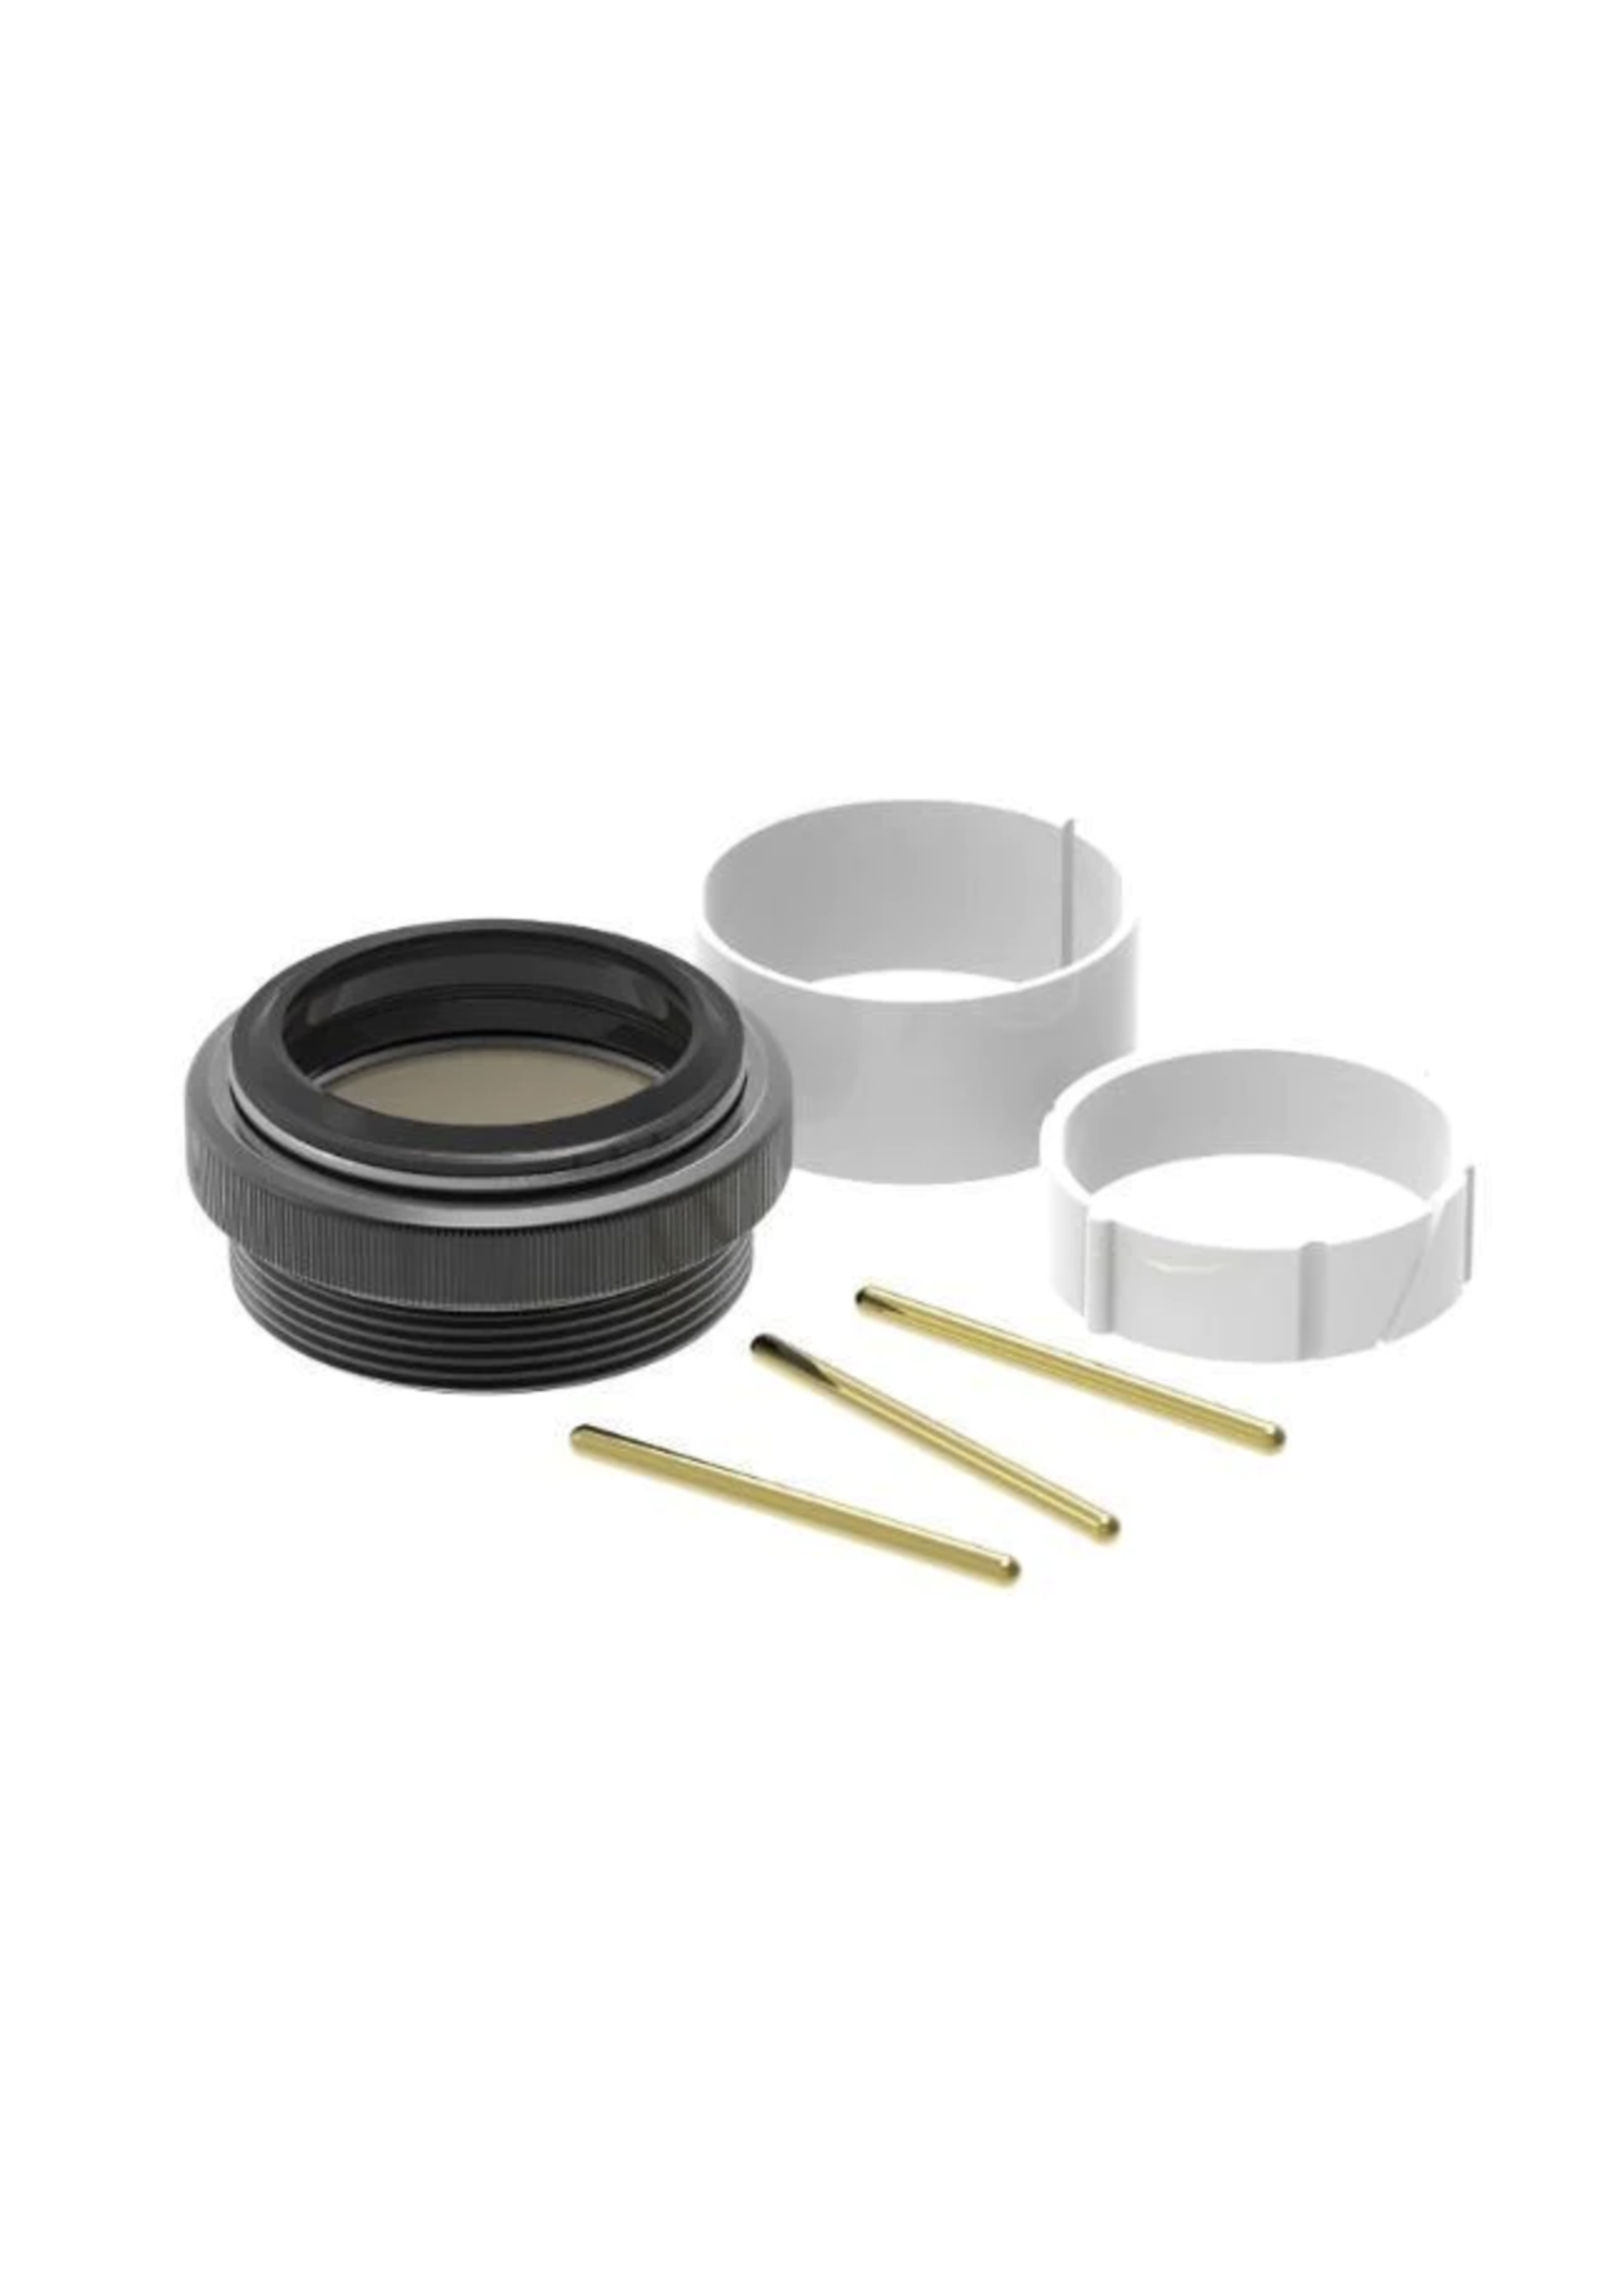
Bushing replacement for version 2 OneUp dropper posts.

The rating of this product is 0 out of 5

(0)

Available in store

Close

This kit includes all the parts required to rebuild your V1 Dropper Post. 

  • Replacement Seal
  • Upper and lower bushings
  • Anti-rotation pins

Compatible with V1 Dropper Post ONLY.

We have found that ~95% of posts with slow top out were caused by low air pressure. Please make sure to check this first and do so with the post fully extended. Proper air pressure is 280-300psi at full extension, and the valve is located under the top clamp.

If you are still having slow top out then there is a possibility that the upper white bushing needs replacement. This will be evident by the original bushing being difficult to reinstall after being removed.

UPPER BUSHING REPLACEMENT

To replace the upper bushing follow the steps for greasing and when exposed simply spread the gap by hand and slide it off the upper tube. Once off, put the post in a mid dropped position and install the new upper bushing. The new upper bushing should be easier to reinstall. 

BRASS KEY / LOWER BUSHING REPLACEMENT 

The brass keys were put in the same kit as a precaution in case we determined that they wear out over time. To date, we have found no measurable wear on these pieces. As such, we have not had cause to recommend replacing them yet. Warning - replacing the brass keys without proper tools may cause more damage than good and will have no effect of top out.

If you do have proper equipment and expertise the process is as follows:

- Disassemble the post using steps 1-5 of dropper-service-instructions
- Wipe the area to remove the grease.
- Carefully clamp the old key with a pair of vise grip pliers (this will damage the key so note that the old key can not be reinstalled) and pull out.
- Remove the lower bushing 
- Slide the mid cap off and replace the seal/spring
- grease the mid cap/new seal and reinstall
- Install the new lower bushing
- Next install the new lower keys. Note that the new keys have a flat side and a slightly rounded side. The rounded side will be pressed into the upper tube slot.
- Do not grease the new keys.
- Press the three new keys in as far as possible be hand.
- Locate a bench mounted vise and both aluminum flat and plastic grooved soft jaw plates for the vise.
- For the two keys that oppose each other use two flat aluminum soft jaws to gently press the keys in (it does not take much force)
- For the third key use a flat aluminum soft jaw on the key side and a grooved plastic soft jaw on the upper tube side to gently press the key in.
- Re-grease the keys and reassemble the post using steps 6-12 of dropper-service-instructions


0 stars based on 0 reviews
Add your review